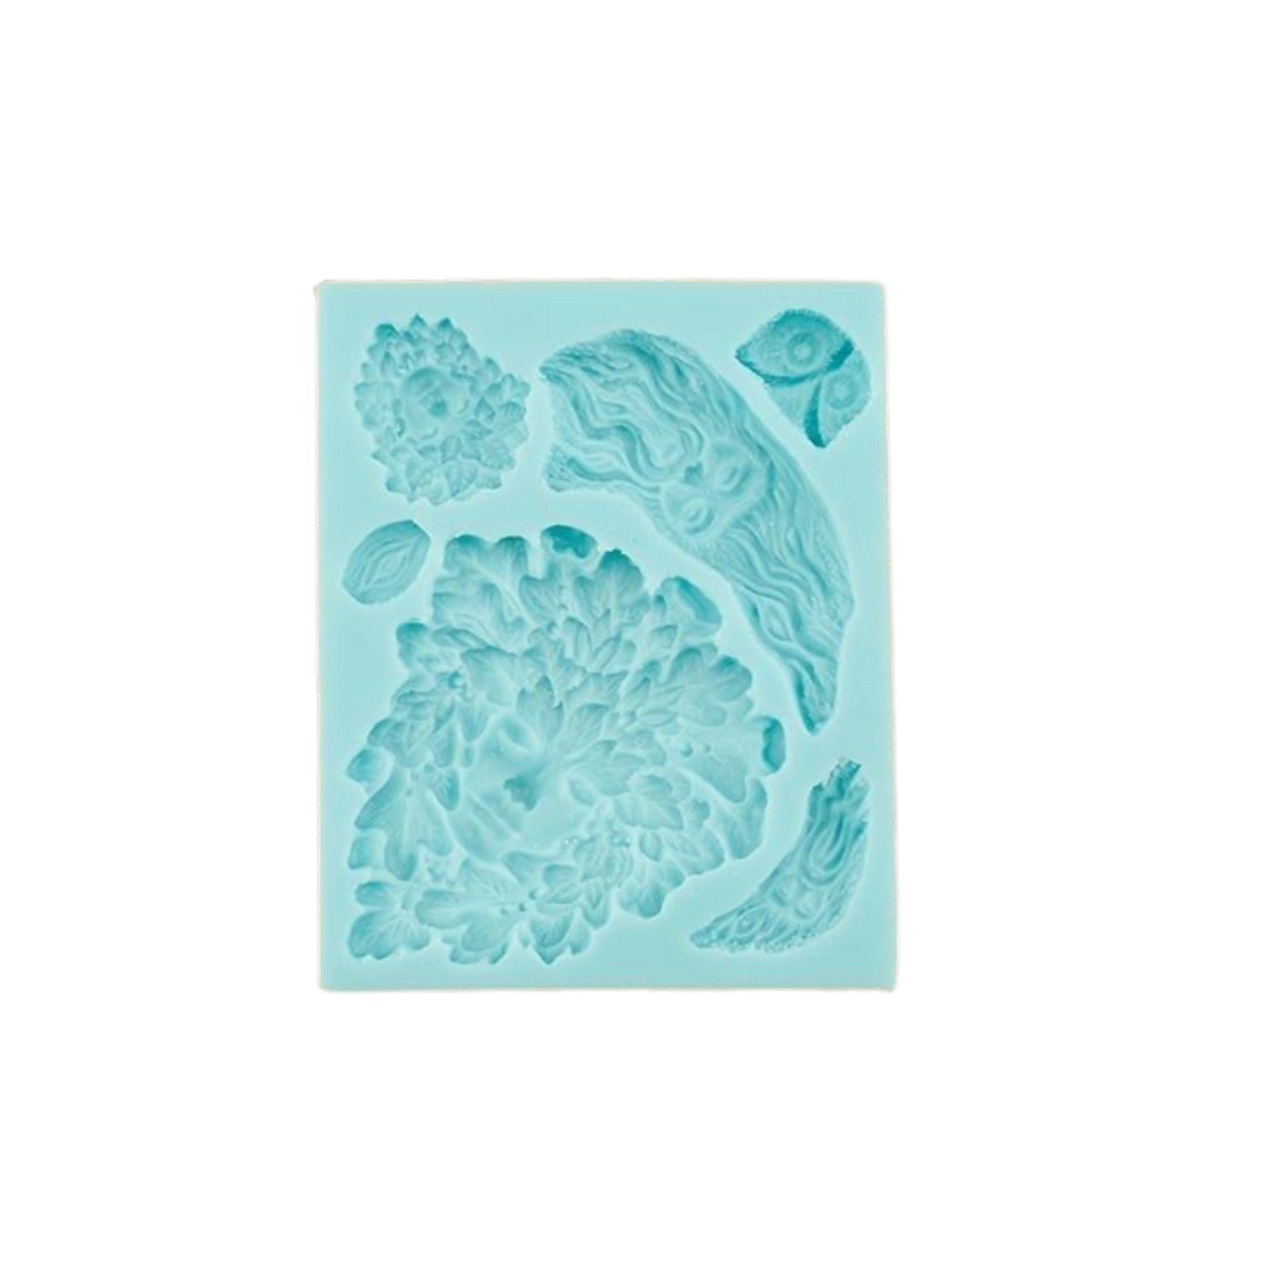
Product Description
Instructions for use:
- Except for metal and glass clays, do not leave uncured clay in the mould.
- Mould one part at a time.
- Mould Care: After use, wash mould in soap and warm water. To minimize the change of breaking or distorting allow the moulded part to dry in the mould. Use a mist of water to release polymer clay from your flexible urethane rubber mould. For other materials, test by moulding a part. If the material sticks, a release agent is needed.
- To remove tiny parts: roll a small piece of clay with a cone shape on one end. Gently flex the mould in several directions. Touch the cone point to the moulded part to lift out.
Each durable urethane mould is hand poured and trimmed and has the ideal flex for making beautiful three dimensional elements from all types of metal clay as well as glass and polymer clays. The three dimensional nature of each element can be seen by light and shadow - the darker the shadow in the mould the deeper the sculpting, the more pronounced the dimension.
Most of the elements can be made hollow to conserve on precious metal clay and to make items lighter in weight. There are three common methods of filling a cavity.
First, be sure that your clay doesn't show any "seams" on the side going into the cavity and press deeply to ensure that all the detail is captured. For cavities that don't have "extremities" such a cross, roll the clay into a ball, place in the middle of the mould and begin pressing the clay outward toward the edges using your fingers or a blunt ended tool. This works well with smaller cavities.
The second method is to roll your clay out to the desired thickness with the size being a bit larger than the opening. Then press the smoothest side of the clay into the mould and using fingers or a blunt ended object press the clay into the recesses of the mould. When the moulds are new they usually don't need any release agent, however it can facilitate removing the piece especially if you want to remove it while it still has a bit of flexibility. Otherwise, as the piece dries it will shrink a bit and the piece will simply fall out of the cavity most times.
The Third method is to roughly shape the clay into the semblance of the cavity size and press into the cavity. A good example of this would be a shape with extremities such as a cross. This is illustrated in detail on the product page.
With thirty years experience in the art of sculpting and working in a variety of media, Pennie Jo has designed her line of durable flexible three dimensional molds in a wide range of elements and components that are perfect for all types of clay - metal, polymer and glass. They are ideal for very small decorative elements appropriate for all types of clay to larger elements that are great for bronze, copper and brass clays.
1.There is a measurement chart on the project insert that comes with your Best Flexible Mold that indicates how much clay is needed to fill each mold cavity. Roll a ball of clay, check it's size on the circle outline. Add or subtract clay from the ball accordingly. The chart below shows a ball of clay that is 1 1/16 inch in diameter when viewed from above.
2. Gently squeeze the ball of clay into a shape similar to the opening in the mould cavity. See illustration below. 
3.Press clay into the deepest part of the mould and out from the center to the edges. See illustration below.

4. If you over fill a mould, carefully trim the excess with a flat blade knife or a clay knife or scraper held parallel to the mould. See illustration below.
5. Before demoulding the finished part, clean the edges by pushing clay around the edges back into the mould with your fingertips. See illustration below.
6. Parts can be removed before they are completely dry which makes them able to be shaped to conform to curved surfaces. You should experiment with this to get the timing down right. Otherwise, let the clay dry over night or place the mold on a warming surface to speed the process. A hair dryer can also be used to speed the process.
To DEMOULD, gently flex mold in all directions, loosening the part, then flex more fully, lifting or tipping the part from the mould. See illustration below.
7. If you are using polymer clays… Place moulded parts on a baking surface. Bake following directions on the clay package. We use smooth ceramic tiles for baking the parts for our Best Flexible mould projects .


